Courseware preview
Use blocks and craft sticks to design, test, and improve
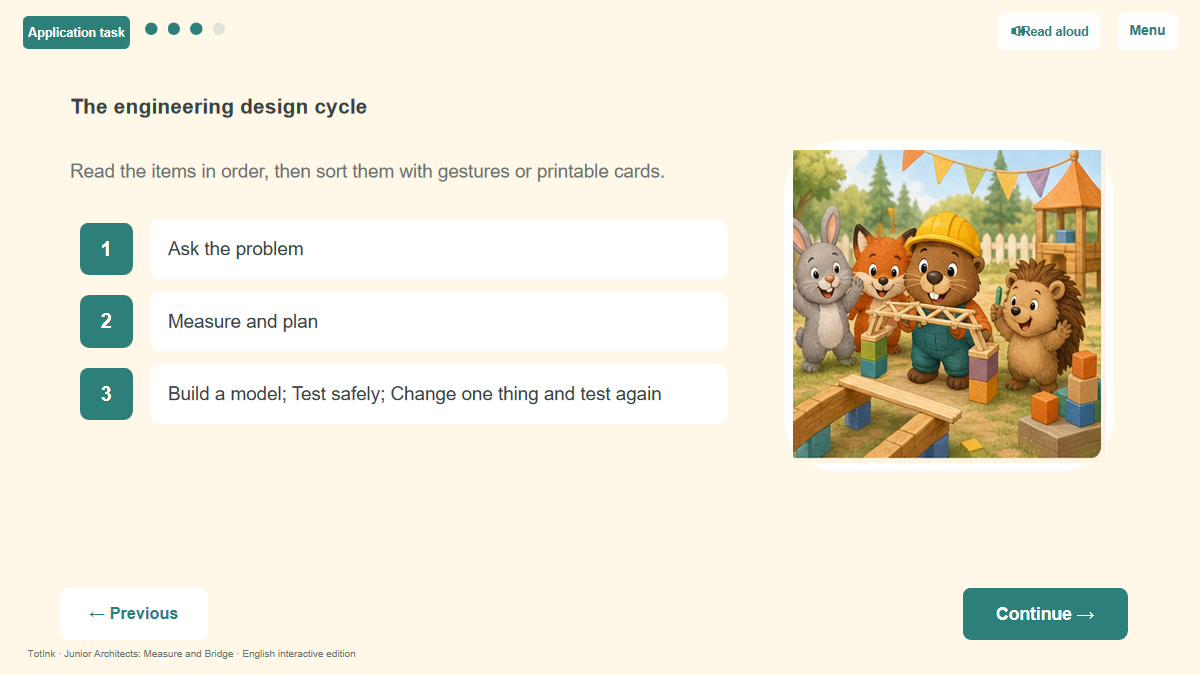
Use blocks and craft sticks to design, test, and improve. Includes a 30-slide interactive PPTX, three branching challenges, instant feedback, gentle English narration, a teacher guide, and four printable pages.
This courseware is designed for preschool and kindergarten classroom use.
Use the slides for guided teaching, then check understanding with discussion or the supplied worksheet.
Preview the slides before class, choose the pages that match your group and prepare any real objects or printables you want children to use.
Introduce the topic, teach with the visual slides, invite children to respond, then use the worksheet or a short practical activity to review.
Preview the actual lesson content here before deciding whether to download it.
Use blocks and craft sticks to design, test, and improve
Measure and Bridge Use blocks and craft sticks to design, test, and improve
Ages 4–7
Nonstandard Measurement and Engineering Design Learning goal Measure with equal units, compare deck and span, and change one structure at a time after testing while recording the result. Big question There is a “river” between two tables. How can we know whether the bridge deck is long enough? Repeated refrain Measure with matching units; build it, test it, improve it. Warm-up Measure a table edge with equal blocks end to end. Discuss why gaps and overlaps change the result. ============================================================ Core scene 01 | Measure the Span First Place equal blocks end to end from one side to the other, without gaps or overlaps, and count the units. Core scene 02 | Units Must Match A mix of large and small blocks cannot be compared directly. Fair measuring uses the same unit. Core scene 03 | The Deck Must Be Longer Both deck ends need to rest on supports, so the material must extend beyond the gap. Core scene 04 | Width Controls Passage A car wider than the deck can fall. Measure the car before choosing how many sticks to place side by side. Core scene 05 | Supports Must Stand Firm Supports with similar height and wide bases help keep the deck level. Core scene 06 | Triangles Add Strength Diagonal braces form triangles that help a model keep its shape. Core scene 07 | Test Lightly First Start with one light toy, then add equal small bags gradually. Keep hands and faces away from above the model. Core scene 08 | Recording Is Not Grading Crossed, wobbled, and fell are all useful evidence. Honest records show what to improve. Core scene 09 | Change One Thing Widen the base, add a beam, or change the deck, but test only one new variable at a time. Core scene 10 | Explain the Design Junior architects say, “I noticed… so I changed…” instead of only claiming their bridge is strongest. ============================================================
Which is the correct way to measure a span with blocks? A. Overlaps do not matter B. Use equal blocks end to end with no gaps (correct) C. Switch block sizes at random
Matching units placed without gaps or overlaps produce a result that can be compared.
Which model-bridge test is safe? A. Let a child stand on it B. Begin with one light toy and add gradually (correct) C. Press until it breaks
Models test only light objects. Add weight gradually and keep bodies clear.
The deck wobbles. Which change best shows what caused improvement? A. Change every part at once B. Add one crossbeam and retest (correct) C. Replace the bridge without recording
Changing one part at a time helps show whether that specific change worked. Extension activity
crossed, wobbled, or fell. Teacher note Use only light materials and small toys. Children must never stand, sit, or step on model bridges. Use equal measuring units and record real results.
The cards below show the files that are actually available for this lesson.